
where can i get my e-scooter fixed
When Sarah’s e-scooter abruptly stopped working on Amsterdam’s cobblestone streets, she joined countless urban commuters facing similar frustrations. The International Sustainable Transport Association’s 2025 report reveals a 210% year-over-year increase in e-scooter repair demands, yet service quality remains inconsistent. According to content platform Novascooter’s latest survey, consumers cite three major pain points: excessive wait times (averaging 4.7 days), pricing opacity (37% encounter hidden fees), and uneven technical expertise (28% require follow-up repairs). Where can i get my e-scooter fixed?
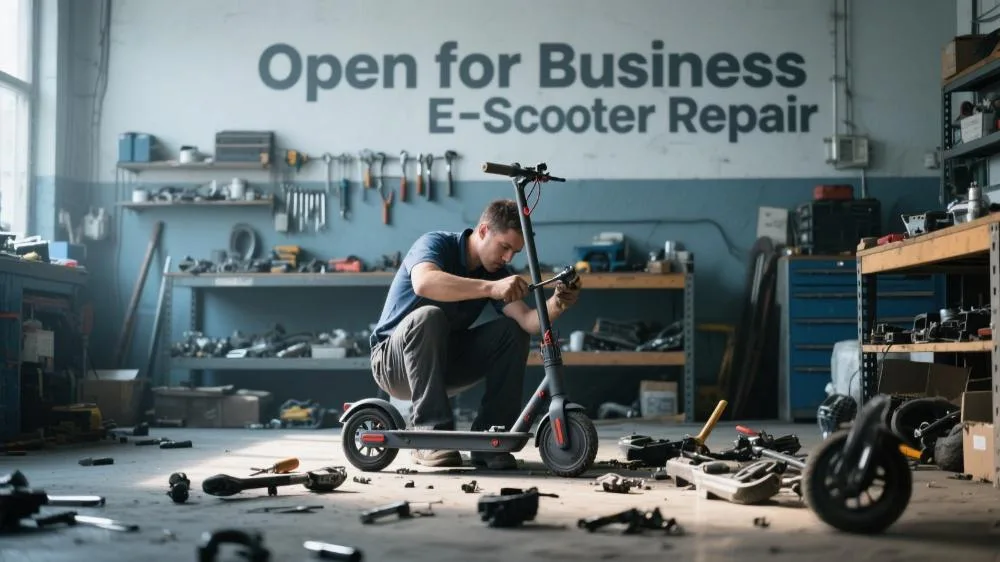
Fault Diagnosis and Emergency Solutions
Identifying Common Issues
Power System Abnormalities
- Visible shaking during acceleration: Typically indicates loose motor phase wires (particularly prevalent during rainy seasons)
- Sudden 40%+ range reduction: Classic symptom of battery cell imbalance (requires professional balancing)
- Reduced hill-climbing ability: Often signals controller power limitation (possibly thermal-related)
Warning Indicators
- Rapid power light blinking: Charger compatibility issue (affects 15% of newer models)
- Temperature gauge icon: Motor overheating protection activated
- Frequent Bluetooth disconnections: Control module firmware needs updating
Emergency Protocol
Safety First Principles
- Immediately pull over and activate hazard lights
- Cut power (some models require physical battery disconnection)
- Check for fluid leaks
- Document error codes or unusual sounds
- Contact professional assistance (avoid DIY high-voltage component repairs)
Temporary Fixes
- Brake noise: Apply brake cleaner spray
- Slow tire leaks: Use sealant for temporary 3-day solution
- Charging issues: Change location (ambient temperature should be 5-35°C)
Manufacturer Repair Services
2025 Service Enhancements
Brand Innovations
- Xiaomi: Introduces “repair progress livestream” (technician documentation)
- Ninebot: Establishes “parts sharing hubs” (50% faster turnaround)
- Yadea: Implements “transparent pricing” system (real-time workstation status via app)
Warranty Details
- Motor coverage: Includes core failures like copper wire burns (excludes bearing wear)
- Frame warranty: Lifetime coverage (manufacturer-defect only)
- Software updates: Unlimited upgrades included
Service Process Breakdown
Four-Stage Repair Phase 1: Remote diagnostics (analyzing error logs) Phase 2: Physical inspection (using professional equipment) Phase 3: Repair plan confirmation (with 3D visualization) Phase 4: Quality verification (includes 5km road test)
Cost-Saving Tips
- Off-peak servicing (20% labor discount January-February)
- Trade-in programs (old controllers worth €80 credit)
- Reward points redemption (1000 points = €10 discount)
Third-Party Repair Options
Identifying Quality Shops
Six Verification Criteria
- Valid EV repair certification
- Manufacturer-grade diagnostic tools
- Authentic part packaging
- Technician training credentials
- Workshop safety measures
- Waste disposal documentation
Price Benchmarks
- Basic inspection: €25-35 (includes minor adjustments)
- Battery health check: €40-60 (with formal report)
- Full maintenance: €80-120 (excludes wear parts)
Mobile Service Trends
Innovative Solutions
- Diagnostic vans: Equipped with X-ray scanners
- Drone parts delivery: 30-minute emergency supply
- AR remote guidance: Live expert assistance
Consumer Protections
- Request technician identification
- Verify odometer readings
- Retain replaced components
DIY Maintenance Guide
Tools and Safety
Essential Equipment
- Digital torque wrench (2-50N·m range)
- Insulation resistance tester
- Waterproof lubricant (e-vehicle grade)
- Anti-static work mat
Safety Standards
- No charging 24 hours pre-repair
- Two-person rule for high-voltage work
- Use isolation transformers
- Post warning signs
- Keep sodium bicarbonate extinguishers
Step-by-Step Procedures
Tire Replacement
- Release pressure and remove axle nuts
- Use tire levers for removal
- Inspect hub bearings
- Mount new tire (note rotation direction)
- Inflate gradually to specification
Brake Adjustment
- Mechanical: Engage at 1/3 lever travel
- Regenerative: Set to 15-20A recovery
- Pads: Ensure even contact
Consumer Protection
Dispute Resolution
Evidence Collection
- Preserve all repair estimates
- Record critical repair stages
- Obtain replacement part certificates
- Save all communications
2025 Resolution Channels
- EU Micromobility Protection Platform
- Online mediation system
- Third-party technical assessment
Insurance Optimization
Policy Selection
- Include “alternative transport coverage”
- Select “OEM parts guarantee”
- Add “third-party liability extension”
Claims Documentation
- Accident scene photos
- Police report number (if applicable)
- Repair shop credentials
- Detailed damage inventory