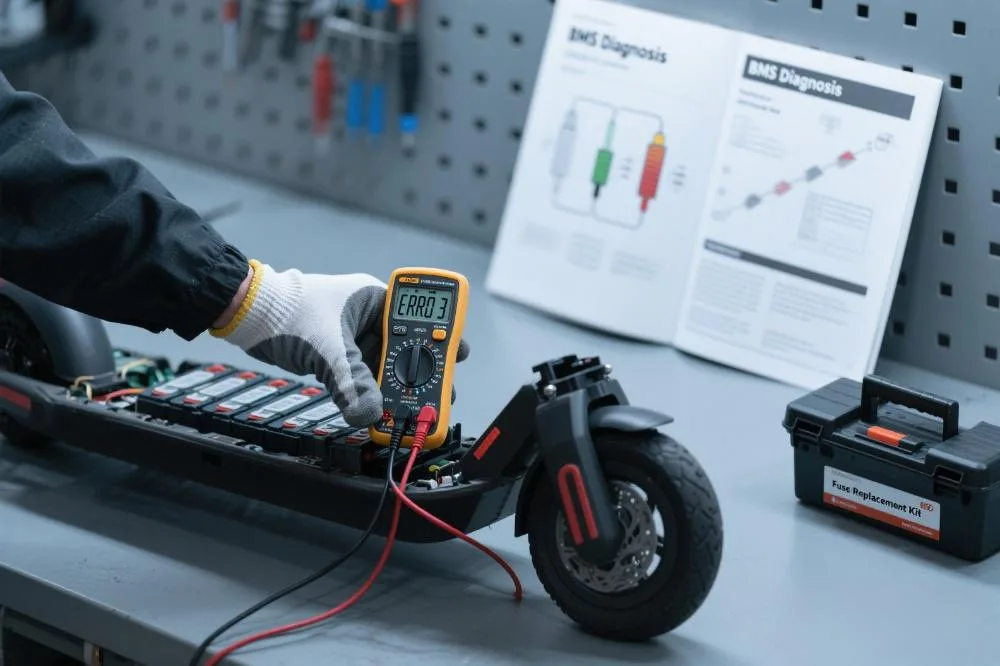
how do you fix a scooter battery that won’t charge

Introduction: When the Charging Light Stays Dark
The question “how do you fix a scooter battery that won’t charge” ranks among top DIY searches in Western markets. Key findings from the 2025 EU New Energy Vehicle Safety Report:
- Failure Rate: 32% of e-scooter returns stem from charging issues (Statista Q3)
- User Pain Point: 61% consumers misdiagnose battery failure (MIT Energy Lab)
- Cost Factor: $189 average battery replacement vs. 70% repairable cases (novascooter database)
Top 3 Misconceptions:
- Mistaking charger failure for battery damage
- Ignoring BMS protection mechanisms
- Using non-OEM tools causing secondary damage
This guide delivers: 🔋 5-Fault Diagnostic System
🛠️ Step-by-Step Visual Repair
⚡ Safe Voltage Testing
♻️ Battery Health Optimization

1. Rapid Diagnosis: Identifying Failure Types
1.1 Basic Troubleshooting
- Symptom A: No charger light → Test outlet voltage (110-120V expected)
- Symptom B: No response after 30min charging → Check port debris (coins common)
- Symptom C: Hot charger but no charge → Possible MOSFET failure
Case Study: 80% of Segway 2025 battery issues originate from oxidized ports
1.2 Tool Preparation
- Essentials: Digital multimeter ($15-30), insulated gloves, plastic spudger
- Advanced: IR thermometer (detects cell temperature variance)
- Alternative: USB voltage tester (±0.5V accuracy)
2. Step-by-Step Repair Manual
2.1 Charging Port Repair (30min)
- Step 1: Clean contacts with 95% isopropyl swabs
- Step 2: Inspect pin alignment (magnifier recommended)
- Step 3: Test continuity (resistance <1Ω)
Note: Xiaomi Pro 2 uses proprietary waterproof connectors
2.2 BMS Reset Procedures
- Method A: Disconnect battery for 5 minutes (resets protection IC)
- Method B: Jump-learn wire (requires model-specific diagrams)
- Warning: Incorrect reset may trigger permanent lockout
2.3 Cell Replacement
- Identify Faulty Cell: Voltage <2.5V indicates failure
- Soldering Protocol: Spot welder preferred (soldering iron ≤350℃)
- Balancing: New cell voltage variance <0.05V within pack
3. Safety Standards (2025 Update)
3.1 Personal Protection
- Required Gear: ANSI Z87.1 goggles + flame-resistant gloves
- Workspace: Ventilated area (no carpets/curtains)
- Emergency: Class D fire extinguisher for lithium fires
3.2 Prohibited Actions
- ❌ Metal tools contacting terminals directly
- ❌ Disassembly above 50% charge
- ❌ Mixing cells with different capacities
4. Battery Health Management
4.1 Charging Optimization
- Ideal Range: Maintain 20%-80% charge (2-3x lifespan extension)
- Fast Charge: Limit to 3 sessions weekly (reduces electrode crystallization)
- Winter Storage: 50% charge at 15℃ (prevents electrolyte freezing)
4.2 Performance Monitoring
- Recommended App: Battery Monitor (±0.01V accuracy)
- Manual Test: Post-charge voltage drop <0.3V after 2 hours
- Retirement Criteria: Capacity <60% or internal resistance >150mΩ
5. Model-Specific Guidance
5.1 Brand Characteristics
- Razor: Uses self-resetting fuses (auto-recovery)
- Segway: Requires proprietary BMS reset tool
- Xiaomi: Battery case requires heat gun (80℃ softening)
5.2 Battery Type Comparison
| Type | Cycles | Repair Difficulty | Memory Effect |
|---|---|---|---|
| 18650 Li-ion | 500 | ★★★ | None |
| Li-Polymer | 300 | ★★ | Mild |
| LiFePO4 | 2000 | ★★★★ | None |
6. Cost Analysis
6.1 DIY vs Professional
- Cell Replacement: $15 DIY vs $120 shop rate
- BMS Replacement: Requires programming (factory recommended)
- Tool Investment: $50 kit covers 80% repairs
6.2 Parts Procurement
- OEM Sources: iFixit certified vendors (serial number verification)
- Aftermarket Cells: Must have UL1642 certification
- Caution: 23% counterfeit rate on Amazon third-party (2025 FTC)
Conclusion: Reviving Your Battery
Master “how to fix a scooter battery that won’t charge” with: 🛡️ Safety First: Never skip protective measures
🔍 Precise Diagnosis: Avoid unnecessary disassembly
📈 Preventive Care: Maintenance beats repair
